
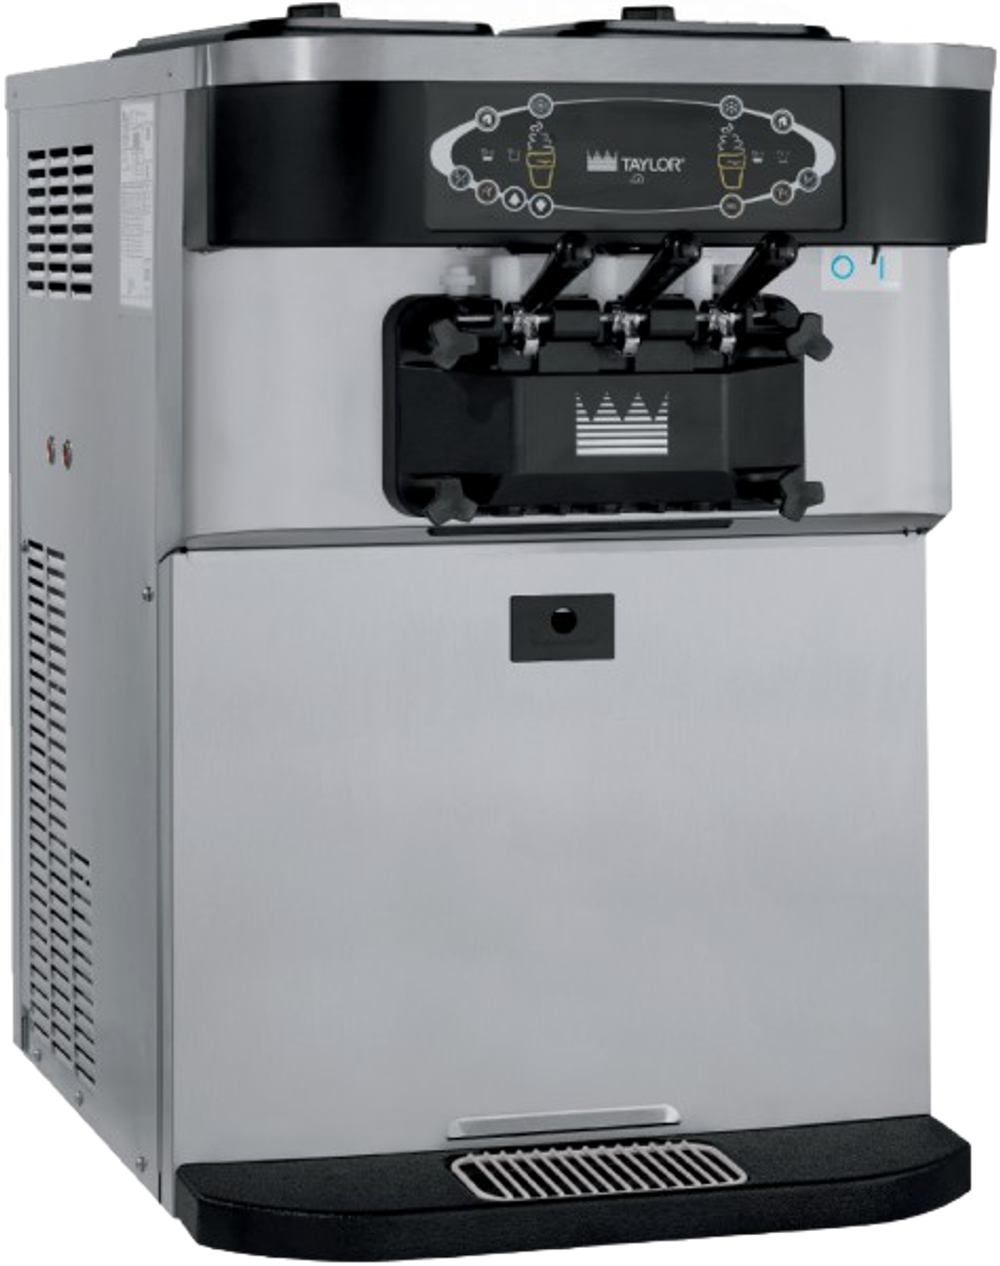
Taylor C712 Commercial Soft Serve Machine Cleaning & Maintenance Guide
Follow our easy guide to clean, disassemble, and maintain your Taylor C712 commercial soft serve machine. Keep it running smoothly for years to come!

How to Clean and Disassemble the Taylor C712 Commercial Soft Serve Machine
Keeping your Taylor C712 commercial soft serve ice cream machine clean isn’t just about hygiene—it’s key to maintaining peak performance, ensuring food safety, and extending the lifespan of your equipment. Regular cleaning prevents buildup, reduces wear on components, and helps you serve consistently smooth and delicious soft serve.
To make the process easier, we’ve put together a step-by-step article, alongside our video tutorial. As one of the most popular commercial ice cream machines on the market, it's essential to learn how to properly maintain it. Follow along to learn how to properly drain, rinse, disassemble, and sanitize your Taylor C712 soft serve machine for optimal performance.
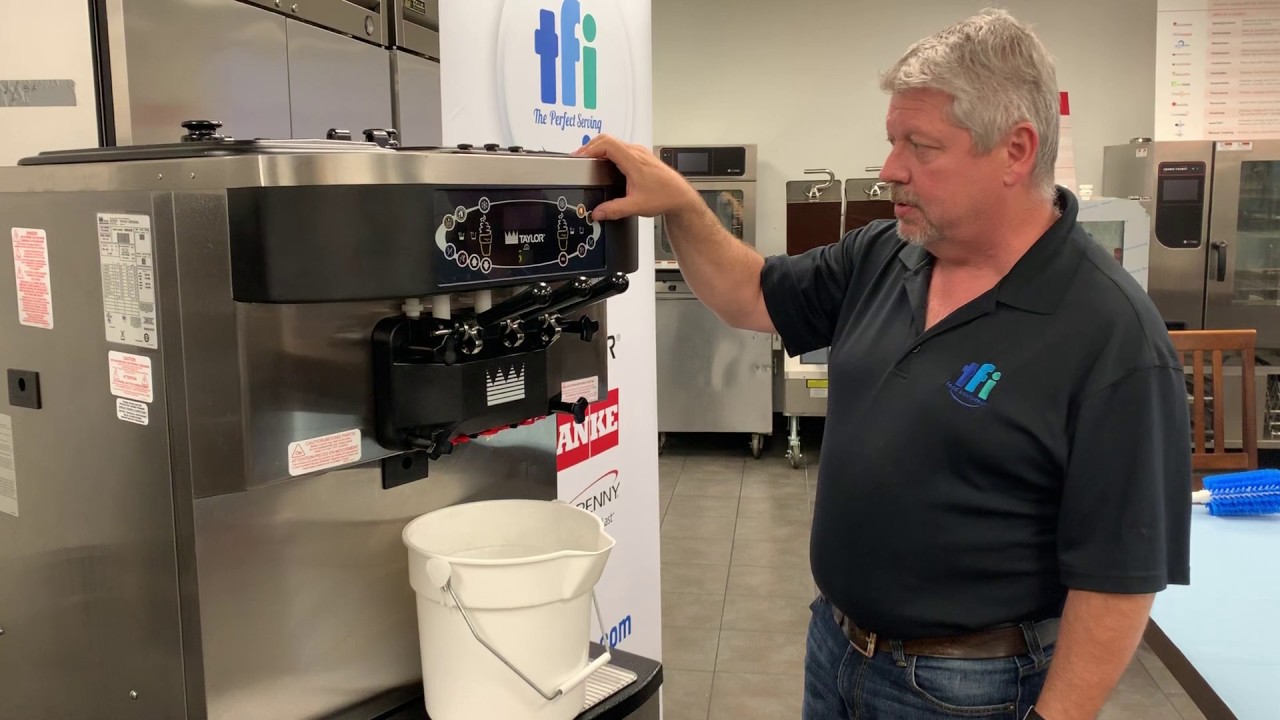
Taylor C712 Commercial Soft Serve Machine Cleaning & Disassembly Video Tutorial
Taylor Soft Serve Ice Cream Machine Cleaning & Disassembly: Step-by-Step Guide
Before we jump into the specific steps, here’s a quick overview of what you can expect in the cleaning and disassembly process. We’ll show you how to safely power down your Taylor C712, drain and rinse it to clear out any remaining mix, and then break down all the major components—from the freezer door to the pump assembly. By the end, you’ll be ready to sanitize everything and reassemble with confidence. Let’s get started!
Step 1: Turning Off and Draining the Machine
Switch Out of Auto Mode: Press the button to turn off the machine and take it out of auto mode.
Drain the Mix: Use the wash and pump functions to begin draining the mix into a bucket placed under the drawer.
Timing: It usually takes around two minutes for the mix to become mostly liquid and drain effectively.
Faster Gravity Drain: Once the mix thins out, turn off the pump and disconnect the tube from the pump. This allows gravity and the spinning parts (in wash mode) to finish draining any remaining product more quickly.
Step 2: Rinsing the Machine
Don’t Remove the Door Yet: Removing the door prematurely could result in spilled ice cream and a big mess.
Warm Water in the Hopper: Pour lukewarm water into the hopper.
Use Wash Mode: Turn on wash mode to circulate water through the freezing chamber.
Brush the Hopper: Use the Taylor-supplied brush (or similar) to remove any leftover residue.
Drain and Repeat: After a few minutes, drain the water. The first rinse may look milky, which is normal. Repeat two or three times (or until the water runs clear).
Step 3: Power Off and Disassemble
Stop Wash Mode: Once your final rinse is complete, stop the wash cycle.
Turn Off the Power Switch: Flip the main switch so no buttons respond—this is a safety measure.
Remove Hand Studs: While placing a bucket underneath to catch any drips, loosen and remove the hand studs.
Take Off the Freezer Door: Slide the door off carefully.
Remove Beater Assemblies: Hold onto the beater blades so they don’t fall, then remove them.
Pull Out the Drive Shafts: Remove the drive shafts from the back of the freezing chamber.
Detach the Pump: If you haven’t already, disconnect and remove the pump assembly.
Step 4: Disassembling the Freezer Door
Keeper Pin and Draw Valve Handles: Remove the keeper pin, then pull out the three draw valve handles.
Draw Valves and O-Rings:
Pull out each draw valve, noting the o-rings.
The center valve often uses an H-shaped o-ring, while the two side valves use standard o-rings.
Remove each o-ring using the pinch-and-roll method or the tune-up kit tool.
Clean the Square Grooves: These grooves can harbor bacteria, so scrub them thoroughly.
Prime Plugs: Remove these along with their o-rings.
Design Caps: Detach the caps from the bottom of the door (these determine the shape of the ice cream).
Door Gaskets and Bearings: Remove these as well.
After these steps, the freezer door should be fully disassembled.
Step 5: Disassembling the Beater and Pump Assemblies
Beater Blades: Release the clip and pin to remove the metal blades from the beater.
Plastic Components: Slide off any plastic bushings or pieces from the beater shaft.
Pump Assembly:
Remove the retaining pin from the pump body.
Push the internal components straight out of the cylinder.
The pump parts are designed so they cannot be reassembled incorrectly, helping simplify the process.
Remove all o-rings, just as you did with the draw valves.
Step 6: Sanitizing and Drying the Parts
Sanitize Thoroughly: Run all disassembled parts through a sanitizing solution. If possible, use a three-compartment sink or follow your local health codes for proper cleaning.
Air Dry Overnight: Lay out the components, including all o-rings and gaskets, so they can dry thoroughly.
Reassembling While Wet: If you do need to reassemble while parts are still wet, be sure to immediately start the machine with mix.
Double-Check O-Rings: Before final reassembly, ensure every o-ring and groove is clean, intact, and properly seated.

Overview & Final Thoughts
I hope you found this guide helpful for cleaning and disassembling your Taylor C712 commercial soft serve ice cream machine. While it might seem like there are a lot of parts to handle, regular cleaning will help you get used to the routine, and it’ll become quicker over time. Keeping the machine spotless and well-maintained ensures it runs smoothly and continues delivering tasty soft serve for years to come.
If you have any questions or run into any trouble, check out more of our resources or get in touch with your Taylor equipment provider. Good luck, and enjoy your freshly served soft ice cream!
Need Help? Contact TFI, Canada's Trusted Taylor Commercial Soft Serve Equipment Supplier
Looking to keep your Taylor commercial soft serve ice cream machine running at its best? TFI Food Equipment Solutions is Canada’s go-to provider for Taylor soft serve equipment—offering everything from new installations and routine maintenance to expert repairs and support.
Our dedicated team focuses on just a few premium brands, giving us deep product knowledge and the skills to help you serve top-quality soft serve ice cream, every time. When you partner with TFI, you’re getting industry-leading solutions and service designed to keep your Taylor commercial ice cream machine operating smoothly for years to come. Contact TFI today!

Nicole Camposeo-Cheung is the Director of Marketing, People & Culture at TFI Food Equipment Solutions, Canada’s leading provider of premium commercial foodservice equipment. She combines her expertise in business management and fashion arts to foster a dynamic, innovative, and people-centric corporate culture. Passionate about empowering teams, building strong client relationships, and driving growth through creativity and collaboration, Nicole plays a key role in shaping TFI’s brand and workplace culture. She also shares her industry expertise and insights through the TFI blog, helping foodservice professionals stay informed about the latest trends, best practices, and innovations in commercial food equipment.
Add a comment
This will be publicly visible.
Your email address will not be published.
Your comment will be reviewed by an admin before it is published.

